News
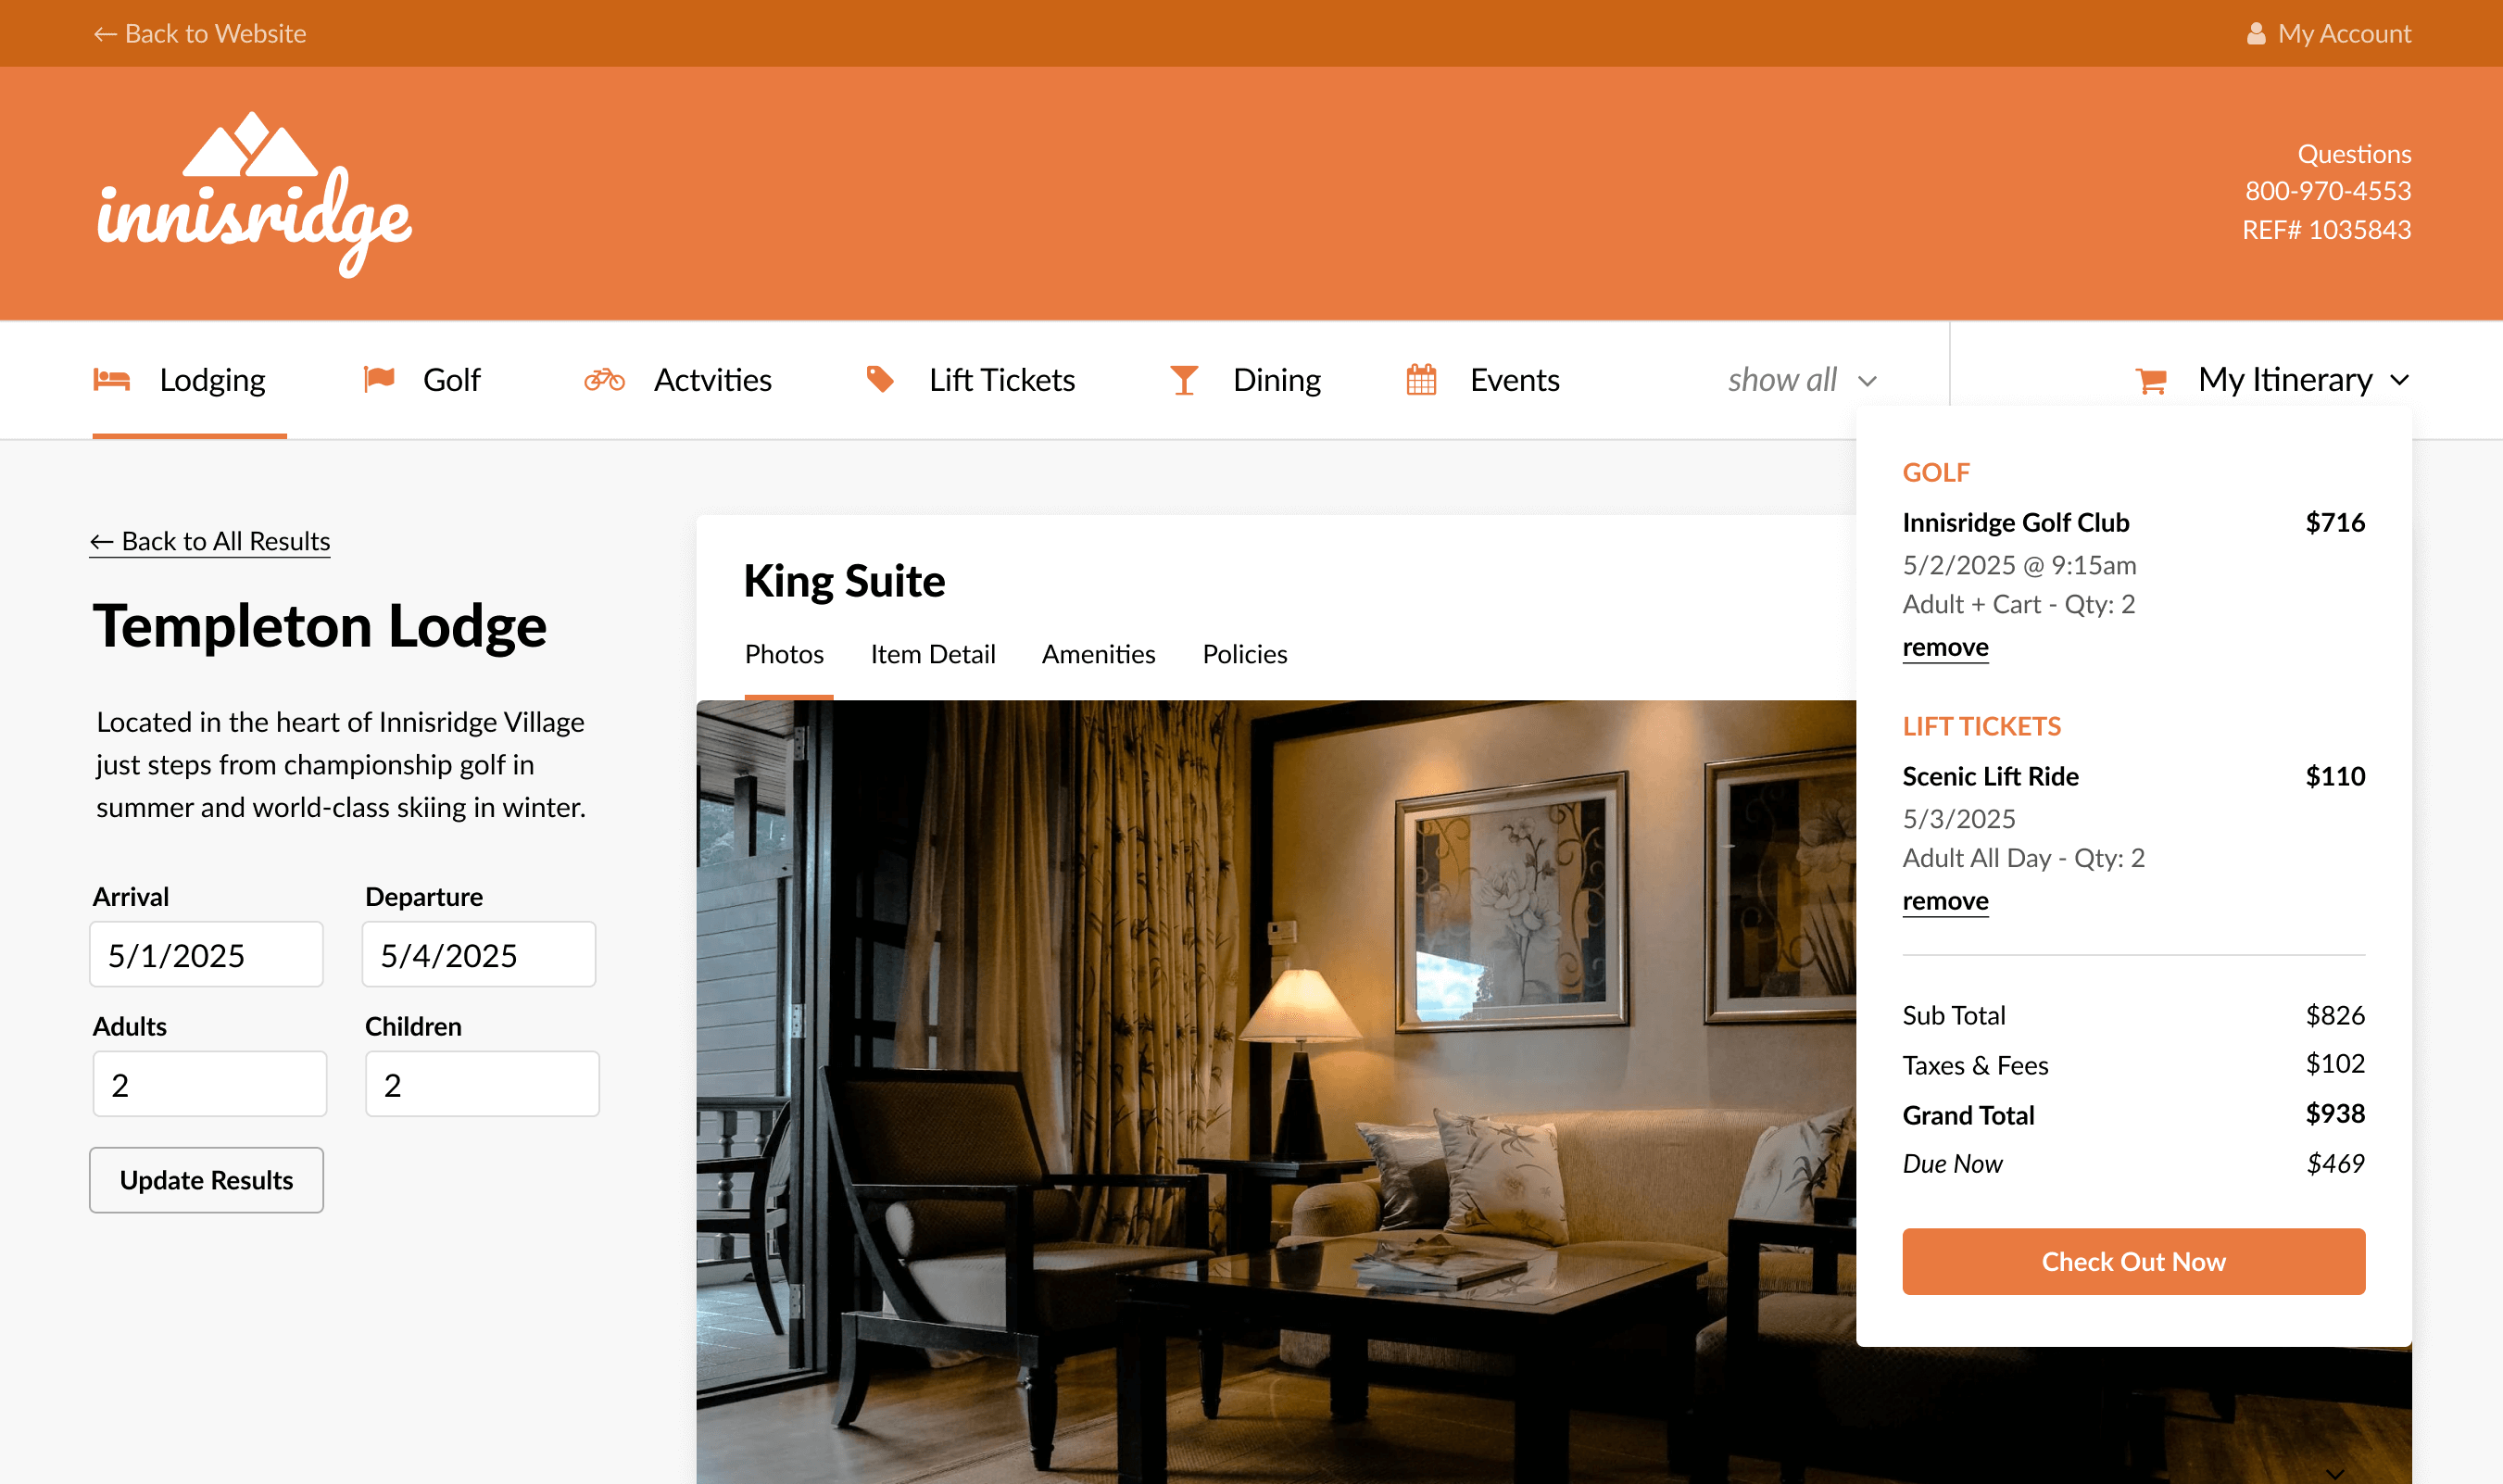
When was the last time that you updated or even looked at the photos you’ve uploaded onto your booking sites? Do you even know? You may not have revisited your site since you first went live with Inntopia.
Perhaps it’s a good time to go to your site and have a look around. What is your guest’s visual experience like? What is their visual experience like on your competitor’s site? Based on the photos you see, would you book a stay?
Here are some suggestions on how to improve your online photos:
1. Go big
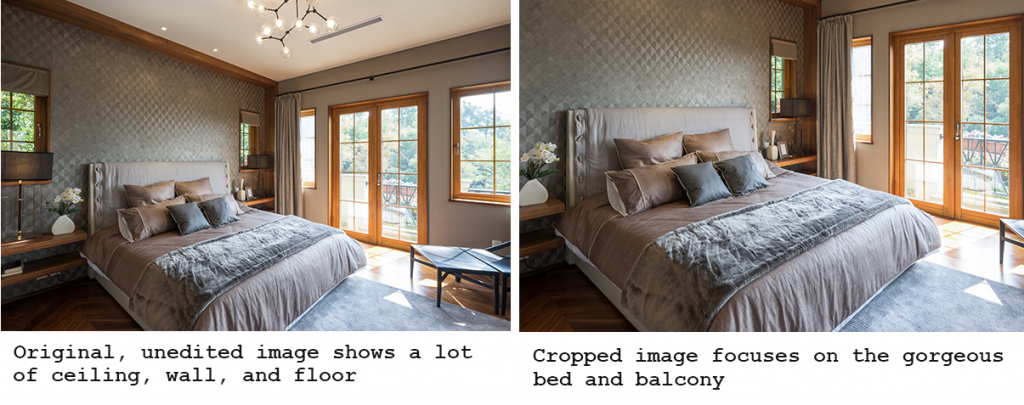
To make your photos bigger, take a copy of the original high-resolution image and crop it outside of Inntopia RMS before uploading it. Not all of your images should be cropped, but cropping will bring focus to a particular element within the photo, and will make that element appear bigger online. Think about cropping out areas such as ceilings and floors, to bring focus toward the bed type or the view. Just make sure the size doesn’t exceed 3MB and that it’s in landscape format.

2. Pick a size and stick with it
To ensure that photos are displayed properly on both standard and responsive devices, photos within Inntopia must be sized at 840 x 460 or 460 x 300 . Having some photos saved as 840 x 460 and others at 460 x 300 can create display inconsistencies, especially when looking at the tile view.
Using a bulk resizing tool can quickly assist with this task, so when you upload your photos into Inntopia RMS, they are all sized perfectly. It’s best to resize the highest resolution image you have.
3. More is better
When plenty of photos are displayed online, guests will have a better idea of what your property is like. A picture is worth a thousand words so this is your opportunity to visually tell your story. You can upload as many photos as you’d like for both your company and your products within Inntopia. (The only exception to this is grouping products, where you can only select one photo for the group leader.)
4. Don’t forget the captions
When you’re looking at the photo, think about what you’re trying to sell to your guests. Instead of just saying “Room with balcony”, consider a more descriptive caption, such as “Each terrace room balcony overlooks the gorgeous vistas of the High Sierras.” Inntopia RMS gives you 80 characters to describe your product to the guest through the Image Caption field. Make sure all of your photos have a caption – don’t skip any.
5. Display sequencing
You should also consider the order in which your photos are presented to the guest using the Display Sequence. If you upload 10 images to represent your terrace room, think about which one should be displayed first and which one should be displayed last. Show your best images first, since first impressions matter. Images that show the bed type or view should be presented before the bathroom, ski storage, or parking area.
Whether you modify what you’ve already got, or upload some new photos, it’s time to freshen it up!
To learn more about the photo tool within Inntopia RMS, check out Innovative U or Inntopia Help.